
Avoid These 5 Microgreens Mistakes for Lush, Healthy Harvests Every Time
- The single biggest upgrade any beginner can make is switching to a two-tier tray with drainage — it virtually eliminates mold and root rot overnight.
- Overwatering is the most common mistake. After germination, switch to bottom-watering and always drain excess after 15 minutes.
- You do not need grow lights to start — a bright windowsill with 6+ hours of indirect light is enough for most varieties.
- Connor's secret cinnamon trick: sprinkle ground cinnamon on your grow medium before planting to naturally prevent mold during the critical germination phase.
Have you ever been excited to grow your own microgreens, only to end up with limp, pale, or moldy results that left you wondering what went wrong? You are not alone. After 14 years of growing and teaching microgreens, Connor Hiebel has seen the same five mistakes trip up beginners again and again — and every single one of them is completely avoidable.
In this post, Connor walks you through each mistake, the exact fix, and a few pro-level tips that will transform your results starting with your very next tray.
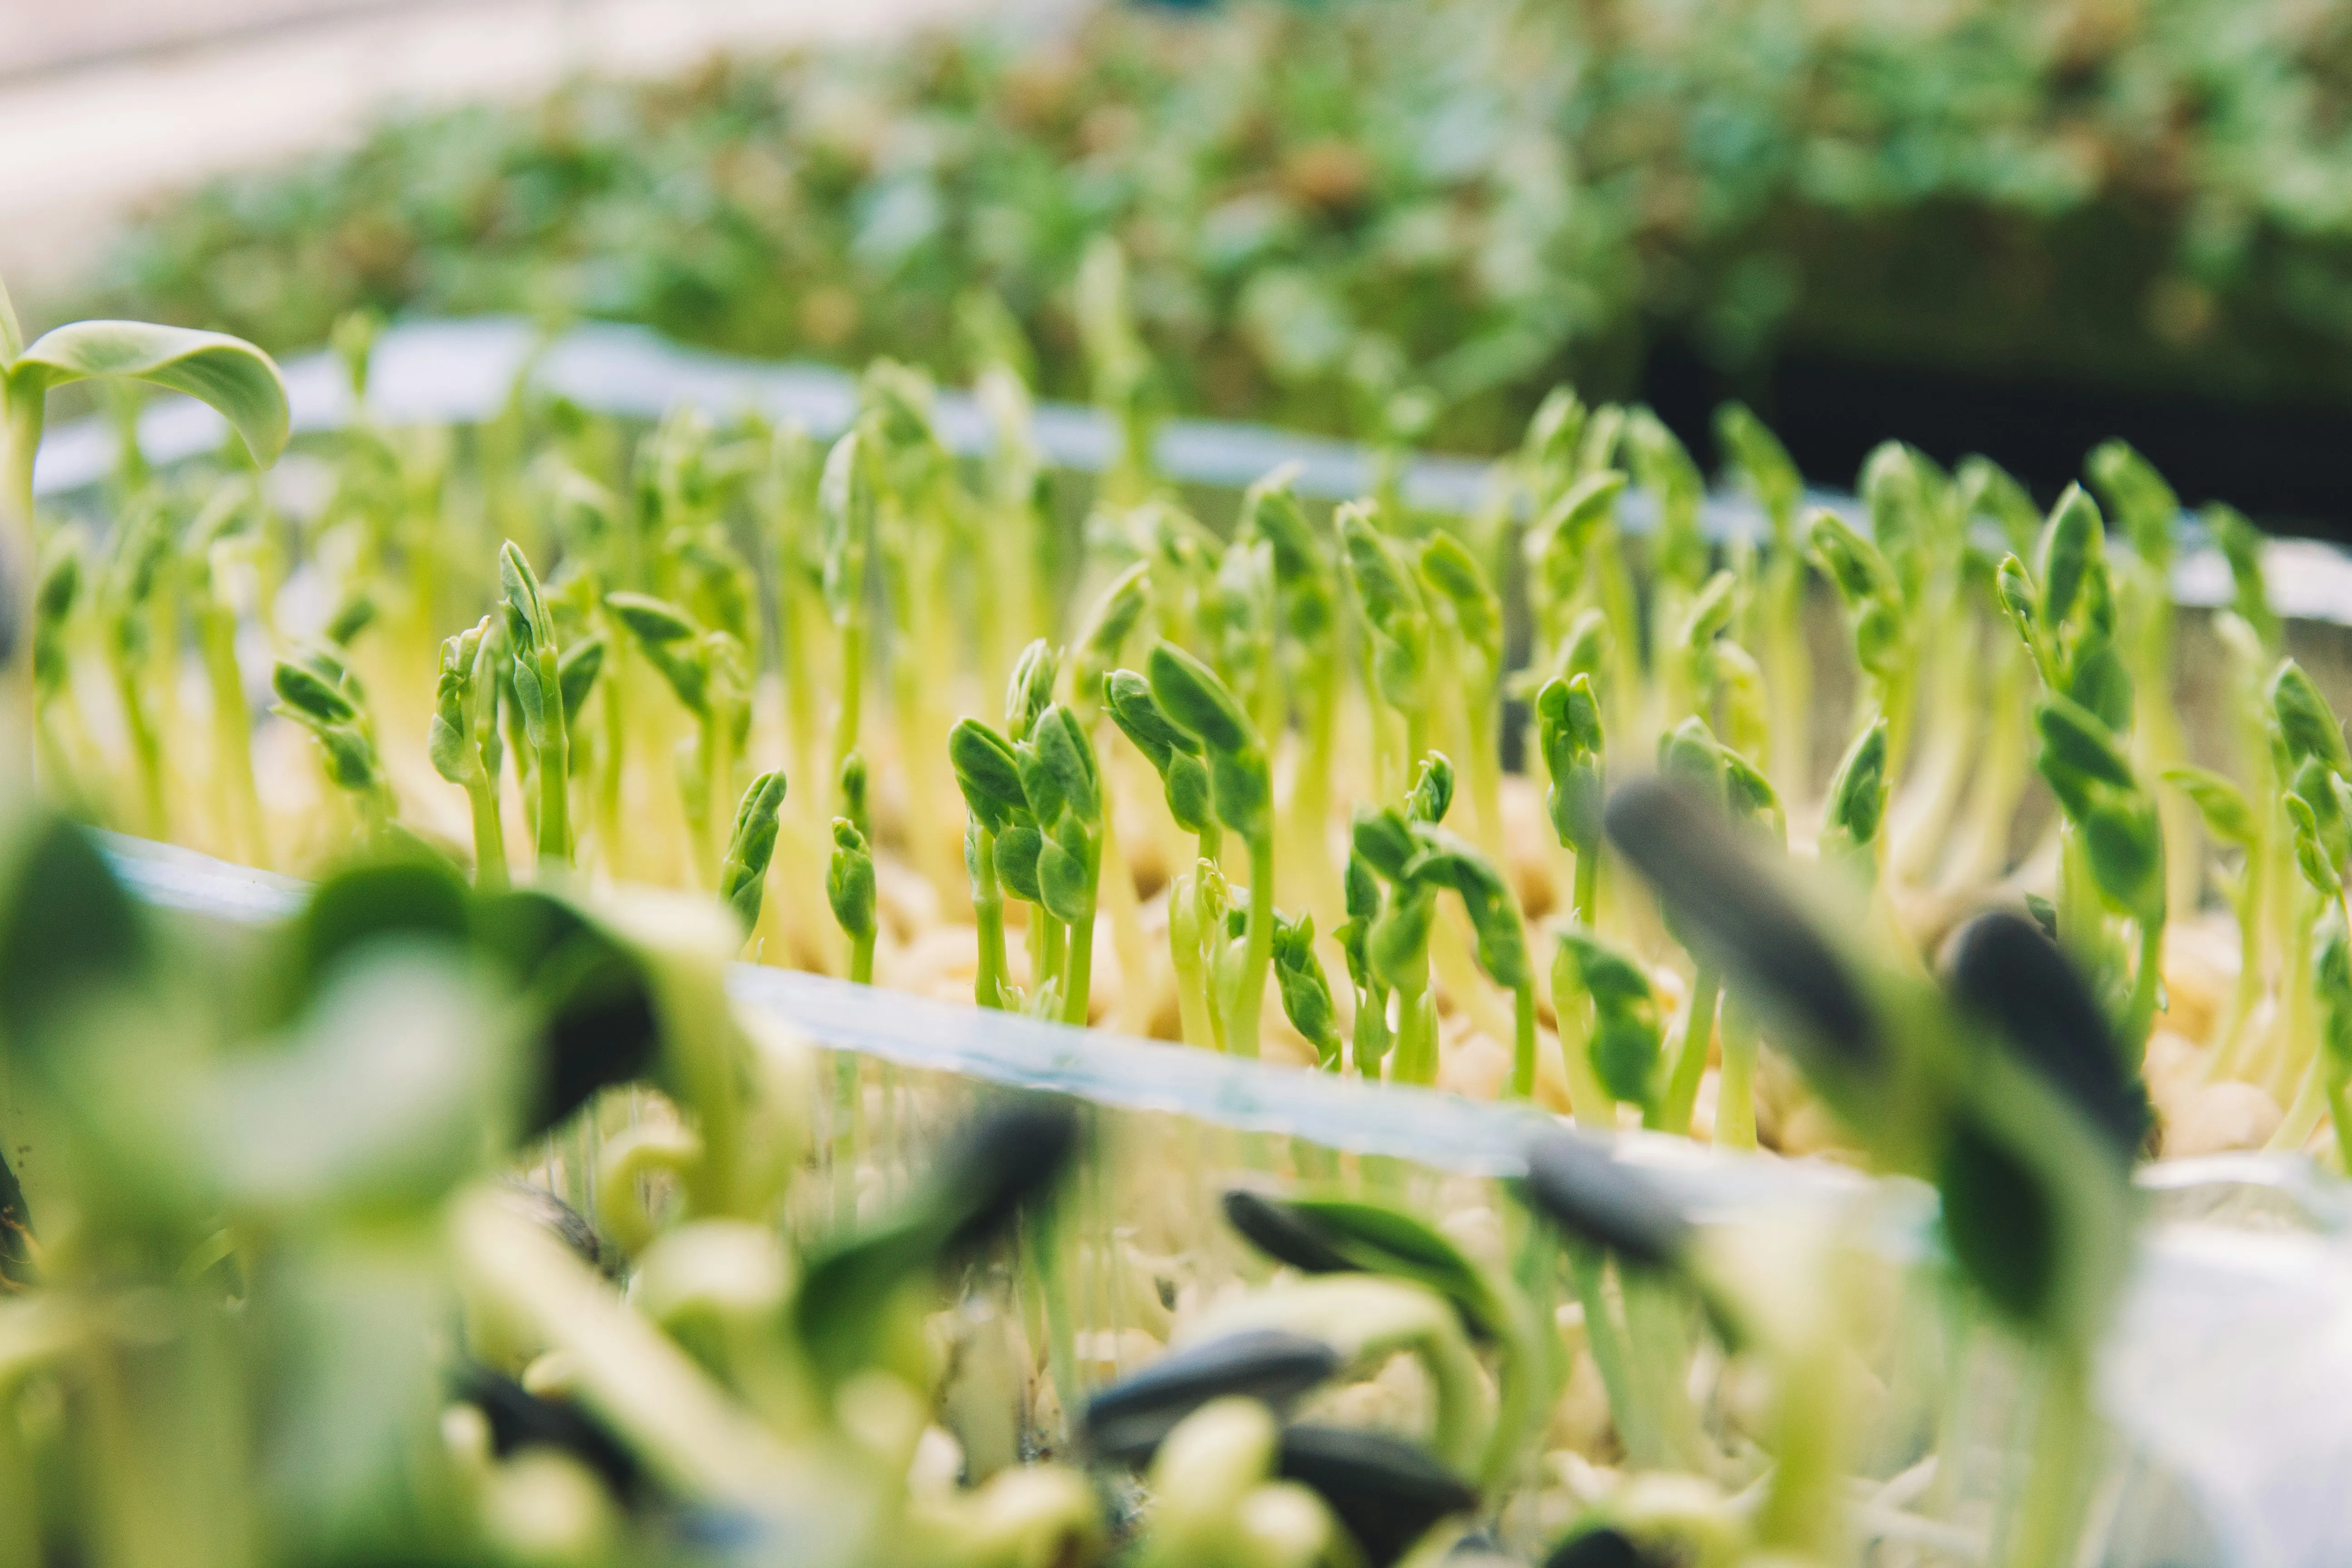
🎥 Watch the Video
▶ Watch the full step-by-step breakdown on our YouTube channel — including the cinnamon trick at the end
Why Microgreens Are Worth Growing (The Numbers Don't Lie)
Before diving into the mistakes, it is worth understanding why microgreens are one of the most valuable things you can grow at home. The case is compelling:
- Incredible Nutrition: Microgreens are up to 40 times more nutrient-dense than their mature counterparts. Broccoli microgreens in particular are packed with sulforaphane — a compound studied extensively for its anti-inflammatory and potential cancer-fighting properties.
- Fast Results: Unlike traditional gardening that takes months, microgreens are ready to harvest in just 7–10 days. Fresh greens every single week with minimal effort.
- Space-Saving and Accessible: No backyard needed. Microgreens thrive on a sunny windowsill or kitchen shelf — even in a small apartment.
- Kid-Friendly: When children grow their own food, they are far more likely to eat it — and feel proud of it.
Mistake #1 & #2: Wrong Tray and Improper Lighting
Mistake #1: Choosing the Wrong Tray
Using shallow trays without drainage, or recycled containers that do not breathe, is one of the fastest ways to ruin a grow. Water pools at the bottom, roots sit in standing moisture, and mold takes hold within days.
The Fix: Use a two-tier microgreen tray. The top tray has drainage holes; the bottom tray collects excess water. This setup allows you to water from below — which virtually eliminates mold and root rot. If you take only one thing from this entire post, let it be this: invest in a good two-tier tray. It is the single biggest upgrade you can make as a beginner.
After bottom-watering, always check back after 15 minutes and pour off any excess water that has not been absorbed. Roots sitting in standing water — even for a few hours — is a primary cause of mold and damping off.
Mistake #2: Improper Lighting
Relying on low-light corners or uneven lighting causes weak, pale microgreens that grow sideways and flop over before harvest. This is one of the most disheartening results for new growers — and it is entirely preventable.
The Fix: Start with a bright windowsill that gets at least 6 hours of indirect light per day. Rotate the tray every other day so your greens grow straight. As you advance, a simple LED grow light placed 6–12 inches above your tray provides consistent, year-round results regardless of season or window placement.
Some newer windows have UV-blocking coatings that filter out the light spectrum microgreens need most. If your greens are consistently leggy even in a bright spot, this could be the hidden cause — try moving the tray to a different window or adding a grow light.
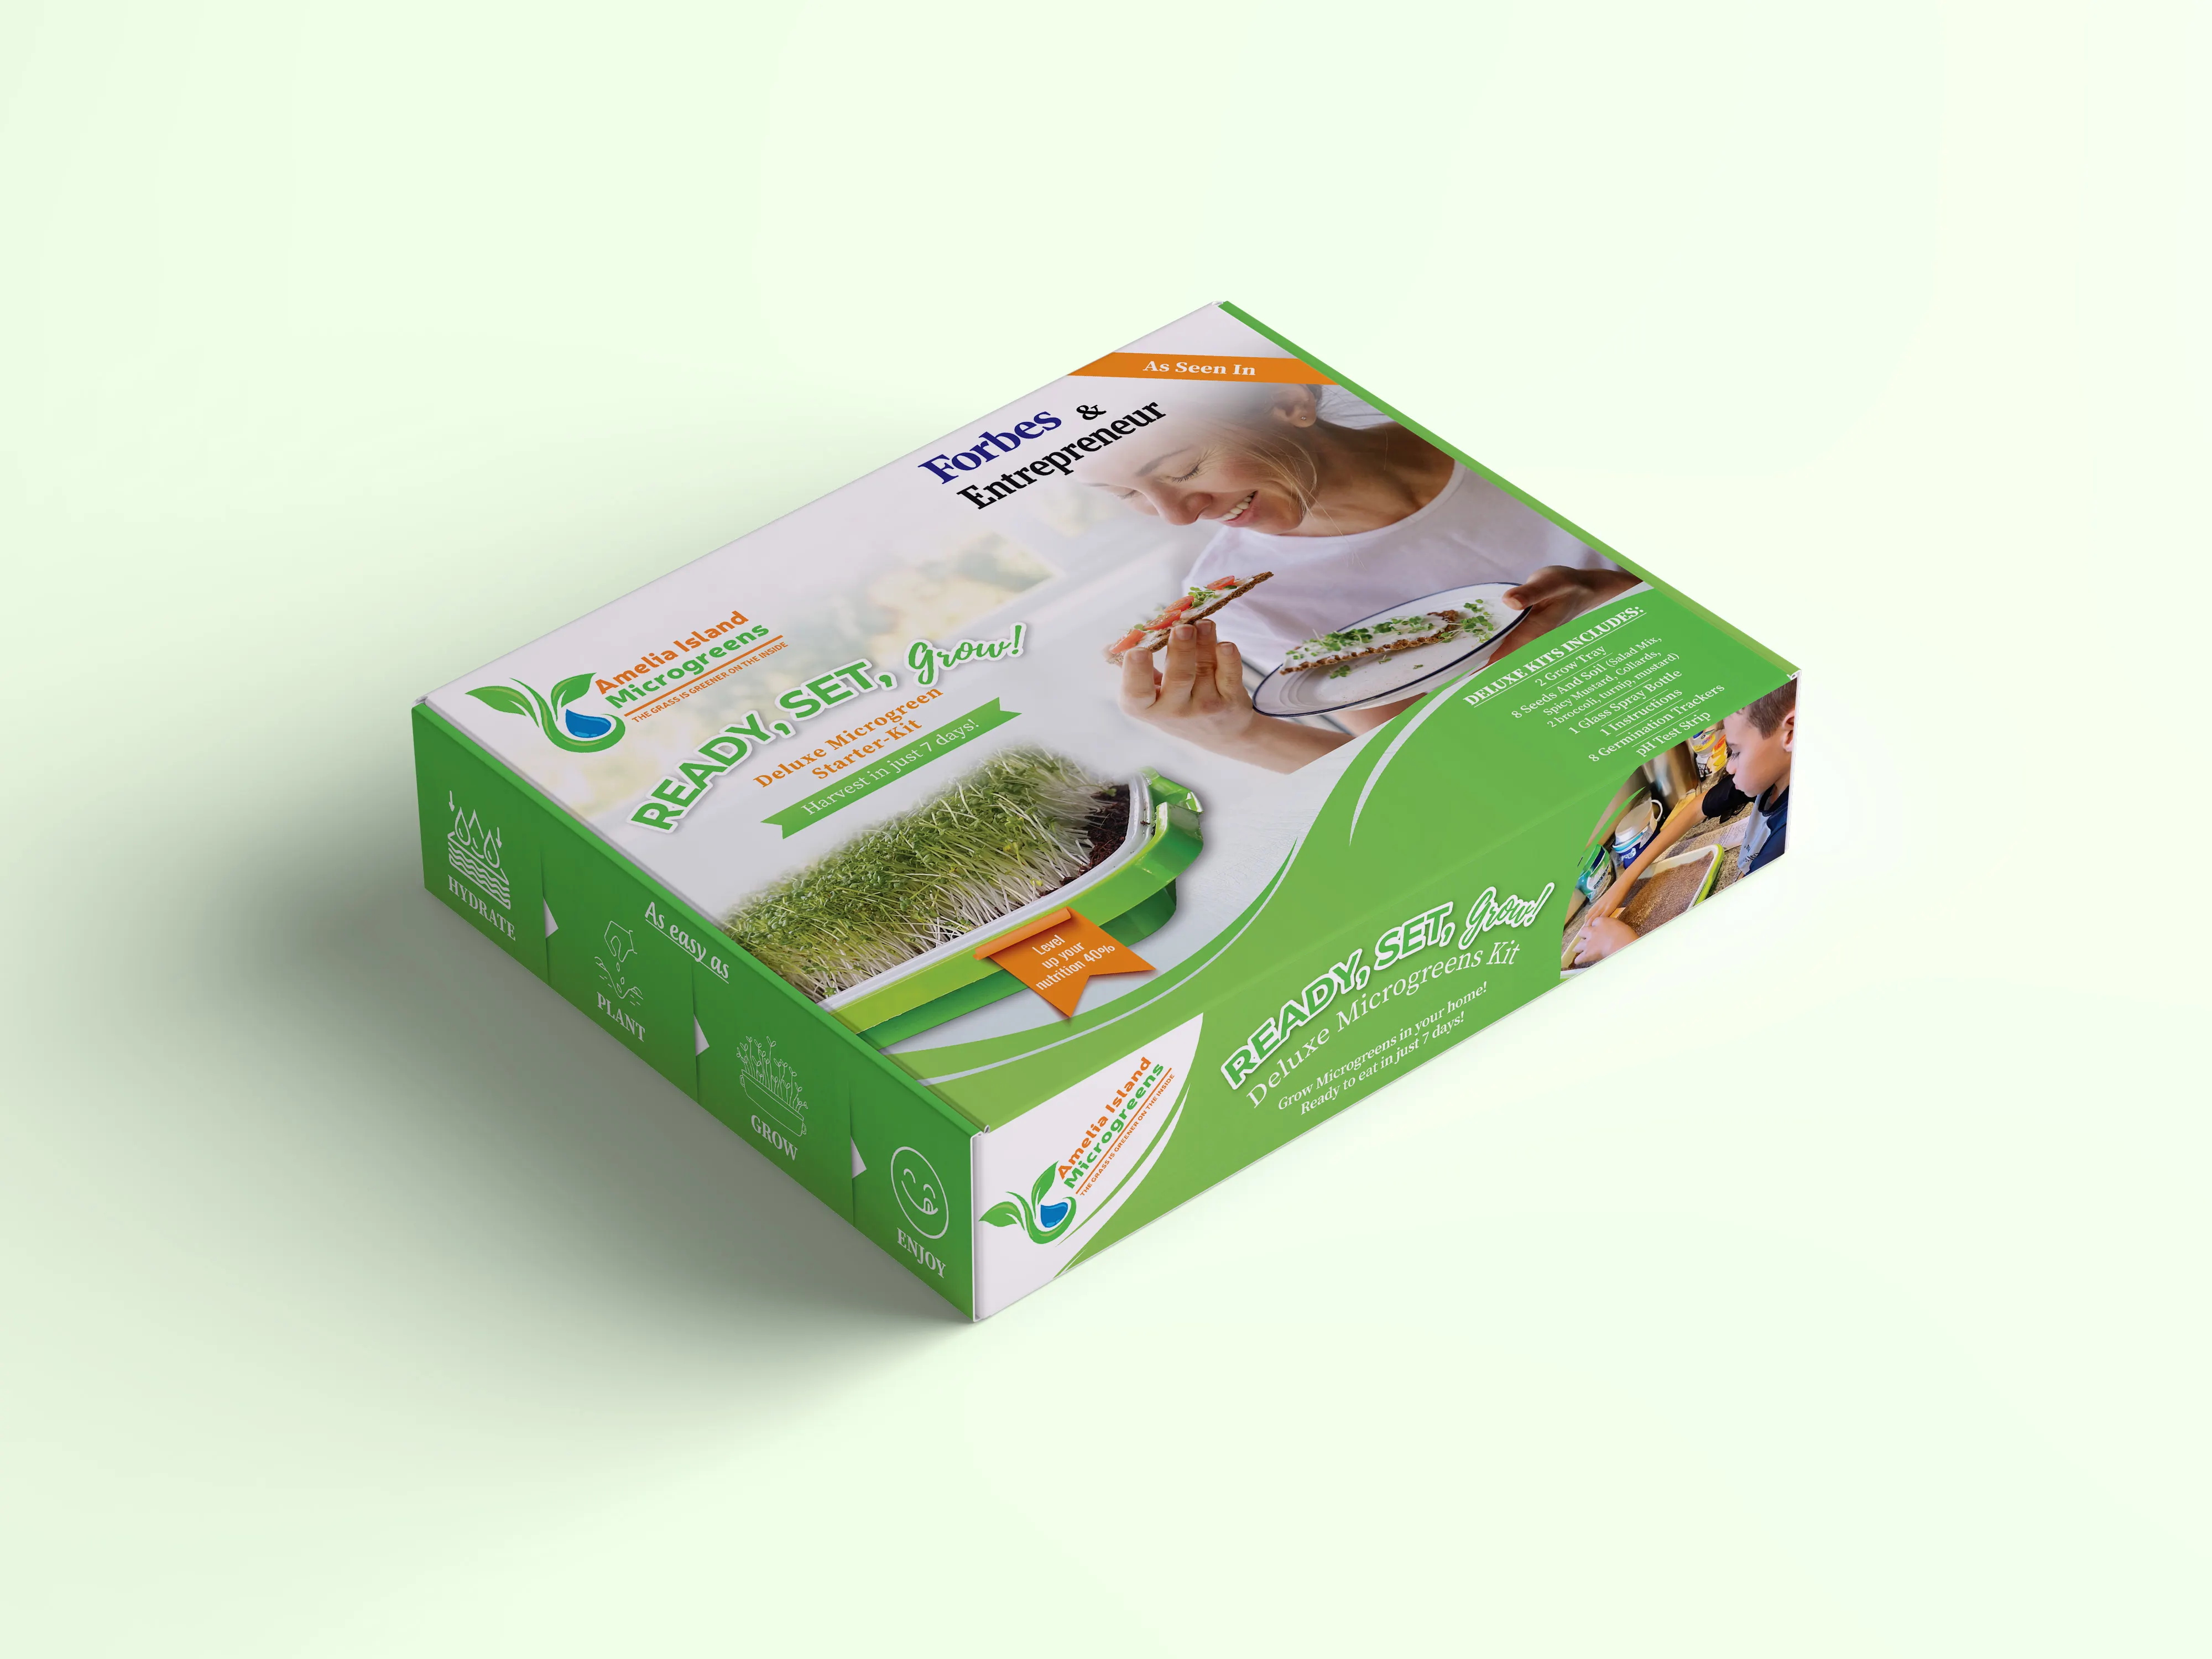
Skip the Guesswork — Get the Complete Kit
Everything you need for a lush, healthy harvest in 7 days. No experience required.
Mistake #3 & #4: Watering Errors and Poor-Quality Seeds
Mistake #3: Overwatering or Underwatering
Pouring water directly onto your greens, or letting the soil dry out completely between waterings, are two opposite mistakes that produce the same poor result: stressed plants, mold, or failed germination.
The Fix: During germination (the first 3 days), mist the seeds once daily to keep the soil moist but never soggy. After they sprout, switch to bottom-watering: lift the top tray, pour about one cup of water into the bottom tray, replace the top tray, and drain any excess after 15 minutes. The goal is always moist — not waterlogged.
Mistake #4: Using Poor-Quality Seeds
Grabbing any old seeds from a hardware store is a gamble that rarely pays off. Low-germination seeds leave gaps in your tray, and un-germinated seeds sitting in moist soil become a direct source of mold and bacterial contamination.
The Fix: Always choose pathogen-tested, high-germination seeds — organic and non-GMO whenever possible. Store your seeds in a cool, dark place to preserve viability between grows. When you invest in good seed, you set yourself up for reliable, consistent harvests every single time.
Mistake #5: Skipping Labels — and the Cinnamon Secret
Mistake #5: Skipping Labeling and Organization
Planting multiple varieties and forgetting which is which sounds like a minor issue — until harvest day when you cannot tell your broccoli from your radish, or you have no idea which tray was planted first and is ready to cut.
The Fix: Label each tray with the planting date and seed variety. Track the days until harvest. Keep brief notes on flavor, growth rate, and yield — especially when experimenting with new varieties. A little organization saves a lot of guesswork and helps you improve with every grow.
The Cinnamon Secret
At the end of the video, Connor shares one of his favorite antifungal hacks that almost no one in the microgreens world talks about: sprinkle a small amount of ground cinnamon across your grow medium before planting your seeds.
Cinnamon is naturally antifungal. It helps prevent mold during germination — the phase when your tray is covered with a dome and humidity is at its peak. It does not affect the flavor of your microgreens, it does not harm the seeds, and it smells incredible. Connor tested it side by side with an untreated tray and the difference was clear. This one small tweak makes a huge difference, especially in humid climates.
If you forgot to add cinnamon before germination, you can still sprinkle it on the soil surface after the dome comes off. It will not harm your plants at any stage of growth, and even a late application provides meaningful antifungal protection.
Your Complete Beginner Setup Checklist
Here is everything you need to start your first successful grow — and avoid all five mistakes from day one:
- Two-tier microgreen tray with drainage holes in the top tray
- Sterile grow medium — coco coir or organic potting mix
- Pathogen-tested, high-germination seeds — broccoli, radish, kale, sunflower, or collard greens are ideal for beginners
- Spray bottle for misting during germination
- Humidity dome to trap moisture for the first 2–3 days
- Bright windowsill with 6+ hours of indirect light, or a simple LED grow light
- Labels and a marker to track variety and planting date
- Ground cinnamon for natural mold prevention
Frequently Asked Questions
What is the most common mistake when growing microgreens at home?
The most common mistake is overwatering combined with using a tray that lacks proper drainage. Water pools at the bottom, roots sit in standing moisture, and mold takes hold quickly. Switching to a two-tier tray with drainage holes and bottom-watering after germination solves this problem almost entirely.
Do I need grow lights to grow microgreens indoors?
No — you do not need grow lights to start. A bright windowsill with at least 6 hours of indirect sunlight per day is sufficient for most microgreen varieties. However, if you live in a low-light area, grow year-round, or notice your greens are consistently leggy and pale, a simple LED grow light placed 6–12 inches above the tray will significantly improve your results.
How often should I water microgreens?
During germination (the first 3 days), mist the seeds once daily to keep the soil moist but not soggy. After sprouting, switch to bottom-watering once daily or every other day — pour about one cup of water into the bottom tray, wait 15 minutes, and drain any excess. The goal is always moist, never waterlogged.
What are the easiest microgreens to grow for beginners?
The most beginner-friendly microgreens are broccoli, radish, kale, collard greens, and sunflower (soak sunflower seeds for 8 hours before planting). These varieties have high germination rates, fast growth cycles, and are forgiving of minor mistakes — making them ideal for your first few trays.
Why are my microgreens growing sideways or falling over?
Microgreens grow toward the light source. If they are growing sideways, your light source is uneven or coming from only one direction. Rotate your tray 180 degrees every other day to encourage straight, upright growth. If they are flopping over entirely, the light level is too low — move the tray to a brighter spot or add a grow light.
Can I reuse soil after harvesting microgreens?
It is not recommended to reuse the same soil for edible microgreens. Spent soil can harbor mold spores, lacks nutrients after the first crop, and may develop an unpleasant odor. Compost the spent growing medium after each harvest and start fresh with new sterile grow medium for best results.
How long do microgreens stay fresh after harvesting?
When stored dry in an airtight container lined with a paper towel in the refrigerator, most microgreens stay fresh for up to 10 days. For maximum freshness, harvest only what you plan to eat immediately and leave the rest growing in the tray — this extends your effective freshness window by another 7–14 days.
Are microgreens really 40 times more nutritious than mature vegetables?
Yes. Multiple studies, including USDA-backed research, have confirmed that microgreens can contain up to 40 times more vitamins, minerals, and antioxidants than their mature counterparts. Red cabbage microgreens are especially high in vitamin C, vitamin K, and antioxidants, while broccoli microgreens are one of the richest known sources of sulforaphane — a powerful anti-inflammatory compound.

Start Growing in 7 Days — Guaranteed
Get our foolproof starter kit with everything you need for lush, healthy microgreens — no experience required.
🌿 Get Your Grow Kit Get the FREE Masterclass


0 comments