
🌱 Beginner's Growing Guide
Grow Fresh Microgreens in Just 7 Days
Three simple steps plant, water, harvest. No garden, no experience, no excuses. Follow our foolproof guide and enjoy 40× more nutrients right from your kitchen counter.
⭐⭐⭐⭐⭐
4.9/5 · Trusted by 5,000+ happy growers
7
Days to Harvest
40×
More Nutrients
5 min
Daily Care
5,000+
Happy Growers
It Really Is As Simple As Plant · Water · Harvest
When you open your Island Microgreens kit, everything you need is right inside the box. The step-by-step process below walks you through exactly what to do each day from hydrating your soil puck all the way to snipping your first harvest on day seven.
Want the full video walkthrough? Get the Free Masterclass →
The Process
Your Day-by-Day Growing Guide
01
Day 1
pH Test & Hydrate Your Soil Puck
Start by pH testing your water, microgreens thrive at 5.5–6.5 pH. Place your compressed soil puck in the tray and pour your pH-balanced water directly over it. Watch it expand up to 8× its original size into rich, fluffy growing medium.
💡
Pro Tip
Use filtered or pH-adjusted water for the best germination rates.

02
Day 1
Spread the Soil Evenly
Once your puck has fully expanded, use a spatula or your hands to spread the hydrated soil evenly across the entire perforated tray. A level, even surface ensures uniform seed contact and consistent germination across the whole tray.
💡
Pro Tip
Press the soil gently... firm but not compacted is the sweet spot.

03
Day 1
Plant Your Seeds
Sprinkle your microgreen seeds as evenly as possible across the entire soil surface. Good coverage is key, the more evenly distributed your seeds, the fuller and more lush your final canopy will be.
💡
Pro Tip
Aim for a single layer of seeds with no large gaps or piles.

04
Days 1–3
Mist & Cover
Using your spray bottle, give the seeds a thorough misting. Then cover the tray with tin foil to create a dark, humid environment that triggers germination. Every day for the first 3 days, lift the foil and give a gentle mist to keep the seeds moist.
💡
Pro Tip
The darkness encourages seeds to push their roots deep before reaching for light.

05
Days 4–7
Remove Cover & Bottom Water
On day 3, remove the tin foil. Your sprouts may look pale, that's normal! They'll green up fast in the light. From now on, stop misting the top. Instead, pour water into the bottom tray. The roots drink from below, keeping the leaves dry and mold-free.
💡
Pro Tip
Bottom watering is the secret to mold-free, healthy microgreens every time.


06
Day 7
Harvest & Enjoy
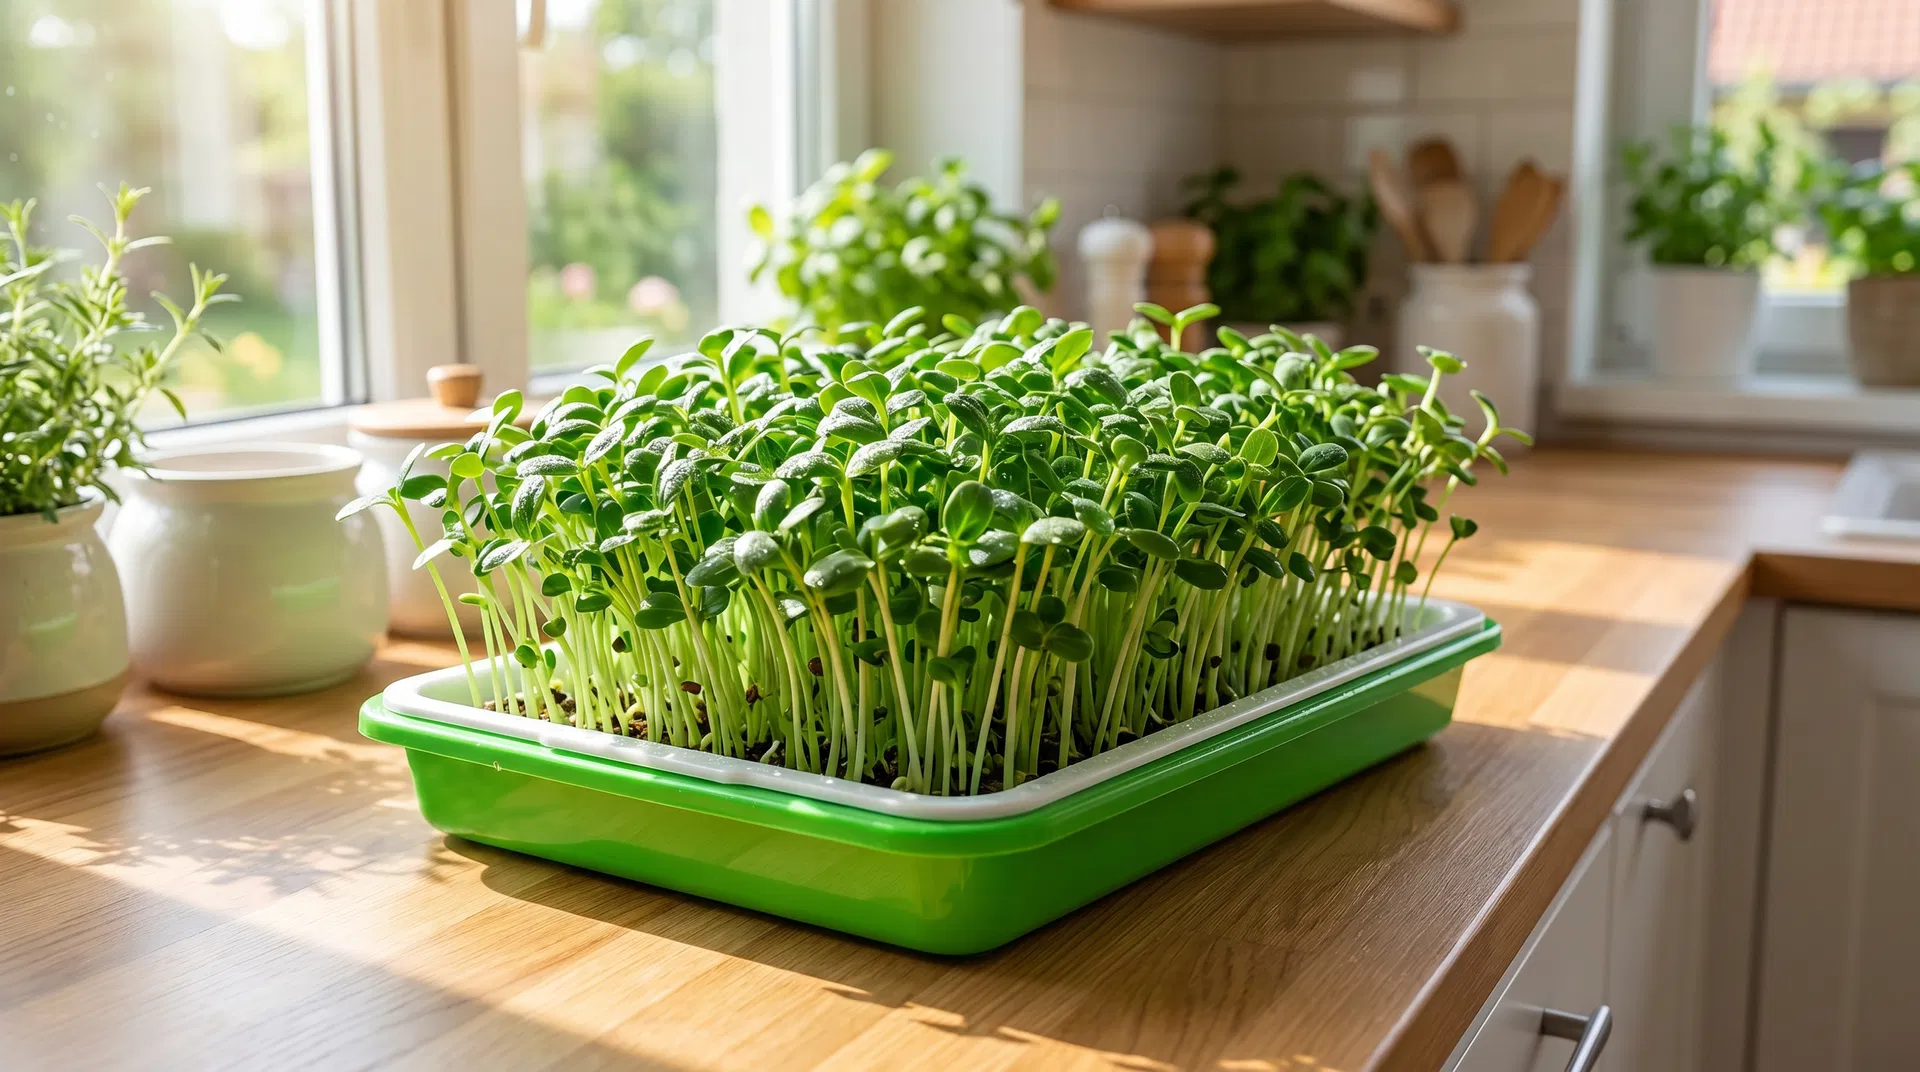
By day 7 your microgreens should be 2–4 inches tall, vibrant green, and bursting with nutrients. Use a clean pair of scissors to cut them just above the soil line. Add them to salads, sandwiches, smoothies, or as a garnish on any dish.
💡
Pro Tip
Harvest right before eating for maximum freshness and nutrient density.
Now That You Know How to Grow, Never Run Out Again
Join our seed refill subscription and get fresh Oriental Mustard seeds delivered straight to your door on your schedule. No more running out mid-grow. Just consistent, healthy harvests every single week.
🌿 Subscribe to Seed Refills →Cancel anytime · Free shipping on subscriptions
Watch & Learn
See the Full Grow Process
Watch Connor walk through every step, from opening the box to harvesting your first tray of fresh microgreens.
How to Grow Microgreens
The complete step-by-step growing process from seed to harvest in 7 days.
🔧 Troubleshooting
Something Not Looking Right?
Don't panic, most microgreen issues are quick and easy to fix. Whether you're seeing mold, slow germination, leggy sprouts, or yellowing leaves, Connor covers the most common problems and exactly how to solve them.
▶ Watch the Troubleshooting VideoMicrogreens Troubleshooting Guide
Common problems and how to fix them, mold, slow germination, leggy sprouts, and more.
In the Kitchen
6 Delicious Ways to Use Your Microgreens
From breakfast to dinner, Oriental Mustard microgreens add a bold, peppery punch to every meal.
01
Microgreen Avocado Toast
Smash ripe avocado onto thick sourdough toast, season with sea salt, cracked pepper, and a squeeze of lemon. Pile a generous handful of fresh Oriental Mustard microgreens on top. The peppery bite of the greens cuts right through the richness of the avocado, it's a 5-minute breakfast that tastes like it came from a café.
👨🍳
Chef's Tip
Add a drizzle of chili oil and a soft poached egg on top to make it a full meal.
Read the Full Recipe →

02
Microgreen Power Smoothie
Blend one banana, half a cup of frozen mango, a cup of coconut water, and a large handful of Oriental Mustard microgreens. The fruit sweetness completely masks the peppery flavour while you get all the vitamins A, C, and K packed into every sip. One of the easiest ways to get a serious nutrient boost first thing in the morning.
👨🍳
Chef's Tip
Add a tablespoon of chia seeds and a scoop of protein powder to turn it into a complete breakfast.
Read the Full Recipe →
03
Cooked Eggs with Microgreens
Whisk three eggs with a splash of cream, salt, and pepper. Cook low and slow in butter, folding gently until just set. Slide onto a plate and immediately top with a handful of fresh microgreens. The residual heat barely wilts the greens, they stay bright, crisp, and vibrant against the soft, creamy eggs.
👨🍳
Chef's Tip
Always add microgreens after the eggs leave the pan, heat destroys their delicate nutrients.
Read the Full Recipe →

04
Microgreen Poke Salad (No Rice)
Skip the rice and use a full bed of lettuce and Oriental Mustard microgreens as your base. Top with fresh sushi-grade tuna or salmon, sliced avocado, edamame, cucumber, pickled ginger, and a drizzle of sesame soy dressing. The peppery microgreens pair beautifully with the clean, fresh flavours of raw fish and you get far more nutrients than a rice base.
👨🍳
Chef's Tip
Dress the microgreens lightly, a little sesame oil and soy sauce is all they need.
Read the Full Recipe →
05
Microgreen Sushi Rolls
When rolling your next batch of sushi, add a thin layer of Oriental Mustard microgreens alongside your fish and avocado before rolling. The greens add a satisfying crunch and a peppery kick that elevates every bite. They also make a stunning garnish scattered across a sushi platter, bright green against the white rice and dark nori.
👨🍳
Chef's Tip
Use microgreens as a garnish on sashimi platters for a restaurant-quality presentation in seconds.
Read the Full Recipe →

06
The Microgreen Sandwich
Layer your favourite sandwich, turkey, chicken, tuna, or a classic BLT and swap out the iceberg lettuce for a thick handful of Oriental Mustard microgreens. They hold their crunch far longer than lettuce, won't make the bread soggy, and add a bold, peppery depth that makes even a simple sandwich taste gourmet.
👨🍳
Chef's Tip
Add microgreens as the very last layer before the top slice of bread so they stay crisp until the first bite.
Read the Full Recipe →Love these recipes? Never run out of greens to cook with.
🌿 Subscribe to Seed Refills →
Got Questions?
Frequently Asked Questions
Microgreens thrive in slightly acidic water (pH 5.5–6.5). Testing your water ensures optimal nutrient absorption and prevents mold, giving you the healthiest, most vibrant greens possible.
The two-tray system enables bottom watering. By adding water to the solid bottom tray rather than pouring it over the top, you keep the leaves and stems dry, significantly reducing the risk of mold and rot.
Covering the seeds simulates being buried in soil. The darkness and humidity trigger rapid germination and encourage the roots to grow deep into the soil puck before the plant reaches for light.
Consistent moisture is essential during germination. If the seeds dry out, they may not sprout. Try to make misting a quick daily habit, it only takes about 30 seconds!
Not at all! A bright, sunny windowsill or well-lit kitchen counter is usually enough. Once the foil comes off on day 3, natural indirect light will green up your sprouts beautifully.
By day 7, your microgreens should be 2–4 inches tall with their first true leaves appearing. They'll be vibrant green and standing tall. Cut them just above the soil line with clean scissors.
Only 2–5 minutes per day! During the first 3 days, just lift the foil and give a quick mist. From day 4 onward, simply pour a little water into the bottom tray. That's it.
Microgreens are a one-harvest crop, once cut, the tray is done. But you can start a fresh tray immediately! Many growers stagger multiple trays so they always have fresh greens ready.
Still have questions?
The Free Masterclass covers everything in depth, watch at your own pace, completely free.
Get Free Masterclass Access →